Olympus E-M5: Auto-Focus (Part 2)
When I previously described the basic operation of the E-M5, I left out the topic of auto focus, because I think that it merits its own article. So here it is today: my favorite AF setting…
How would you like AF, but only when you need it, combined with focus-assist and full-time manual-override?
No problem: just choose the following settings in the “Custom Menu”:
• Custom Menu
     • A. AF/MF
          • AF Mode
               • Still Picture: MF
          • AEL/AFL: S1/C2/M3
          • MF Assist: On
When the camera is set to single (AF-C) or continuous (AF-S) focus it behaves as expected — press the shutter half-way and the camera focuses, press completely and it takes a picture — so anyone can take pictures with it. But switch to manual focus (MF) and you’ll enjoy the ultimate focusing experience:
- The viewfinder and the rear display show the entire image, so you can compose properly.
- Turn the lens focusing ring slightly and the area around the currently selected AF sensor gets magnified so you can focus very precisely. Stop turning and the entire image is visible again.
- Since you are in manual focus mode, you have minimum shutter lag.
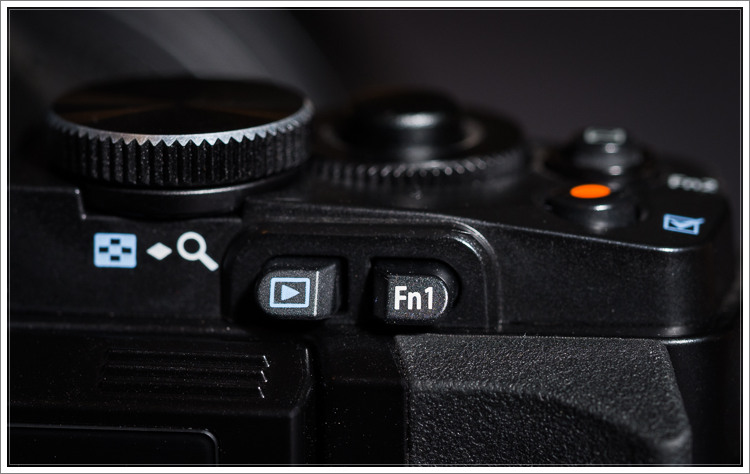
- For general photography: press the Fn1 button and the camera will focus, then press the shutter release to take a photo.
- This might sound slow or complicated — having to press one button for AF and another one for shooting — but you now have the great advantage of being able to shoot without the camera refocusing before each frame. This method works particularly well for static scenes, where you’d focus once then take as many pictures as you want, waiting for the decisive moment to occur.
- In a final variation, you can press Fn1 to focus, then rotate the focus ring to fine-tune the focus manually while enjoying the automatic image magnification. Now take the image by pressing the shutter button completely.
I’ve been using the trick of separating AF from the release button since 2008, on a Canon 10D and 30D and on a Nikon D7000 (*), and I’ve been extremely happy with it. It takes about two weeks to get used to it, so if you are trying it for the very first time, don’t reject it too quickly. Stick with it, and you’ll never want to go back.
(*) – Since these are SLRs, image magnification in the viewfinder is not possible.Great Auto-Focus Features of the Olympus OM-D cameras:
- The AF sensors cover about 90% of the frame.
- The size of the AF sensors can be changed.
- Face and eye recognition.
- In the custom menu you can set the focusing direction of the lens to clockwise (Canon, Leica, Olympus) or counterclockwise (Nikon, Pentax), thus matching your previous camera system.

Focusing and Shooting with the Touch-Screen
To focus or shoot using the touch screen, look for one of these three icons near the left edge of the rear display. Tap on the icon to change it to the next function:
 — The touch screen is disabled.
 — Tap anywhere in the screen to focus on that point and immediately take a picture. This works very well for photographing children or other (fast) moving objects.
 — Tap anywhere on the screen. The camera focuses on that point and a green rectangle is displayed. Now you can:
- Press the shutter release to take a picture.
- Tap anywhere else on the screen or drag the rectangle to focus on a different part of the image.
- Look at the right edge of the rear display and you will see a magnification scale and a magnifying glass.
- Tap on the slider to change the magnification factor.
- Tap on the magnifying glass to magnify the selected portion of the image.
- Pan with your finger within the magnified image, and the camera focuses on the newly selected portion of the image.
- Tap on the 1x to exit the magnified view.
- Press the shutter release at any time to take a picture.
Note that if the camera is set to manual focus (MF), it will release without focusing, so maybe Olympus should indicate this by displaying a blinking “MF” just below the icons so you are not confused as to why the camera does not focus.
Hi Bojidar,
I used your setup on a trip to Tokyo and couldn’t be happier with your settings, I found it much better than just AF. Combined with your setup for using the MF ring (having it magnify), it helped me a lot to get the subject in focus! I still use the touch screen now and then to select certain subjects, though 😜 It’s a pretty nifty addition, to be able to select what you want to focus on!
Thanks again for your help 😊 Have safe and pleasant travels!
Premeeta